Nashville State is implementing the use of multi-factor authentication (MFA) to strengthen security
for campus resources such as Email. NSCC supports Microsoft Authenticator.
Important note: If you have set up MFA on another device that you no longer have access to you will need to contact the service desk to have a support technician remove that device before you can set up a new one. Call 615-353-3678 for assistance.
Note: When searching for the Microsoft Authenticator on an Apple device the first option that will come up is NOT the correct app. Verify that the publisher of the app is listed as Microsoft before downloading.
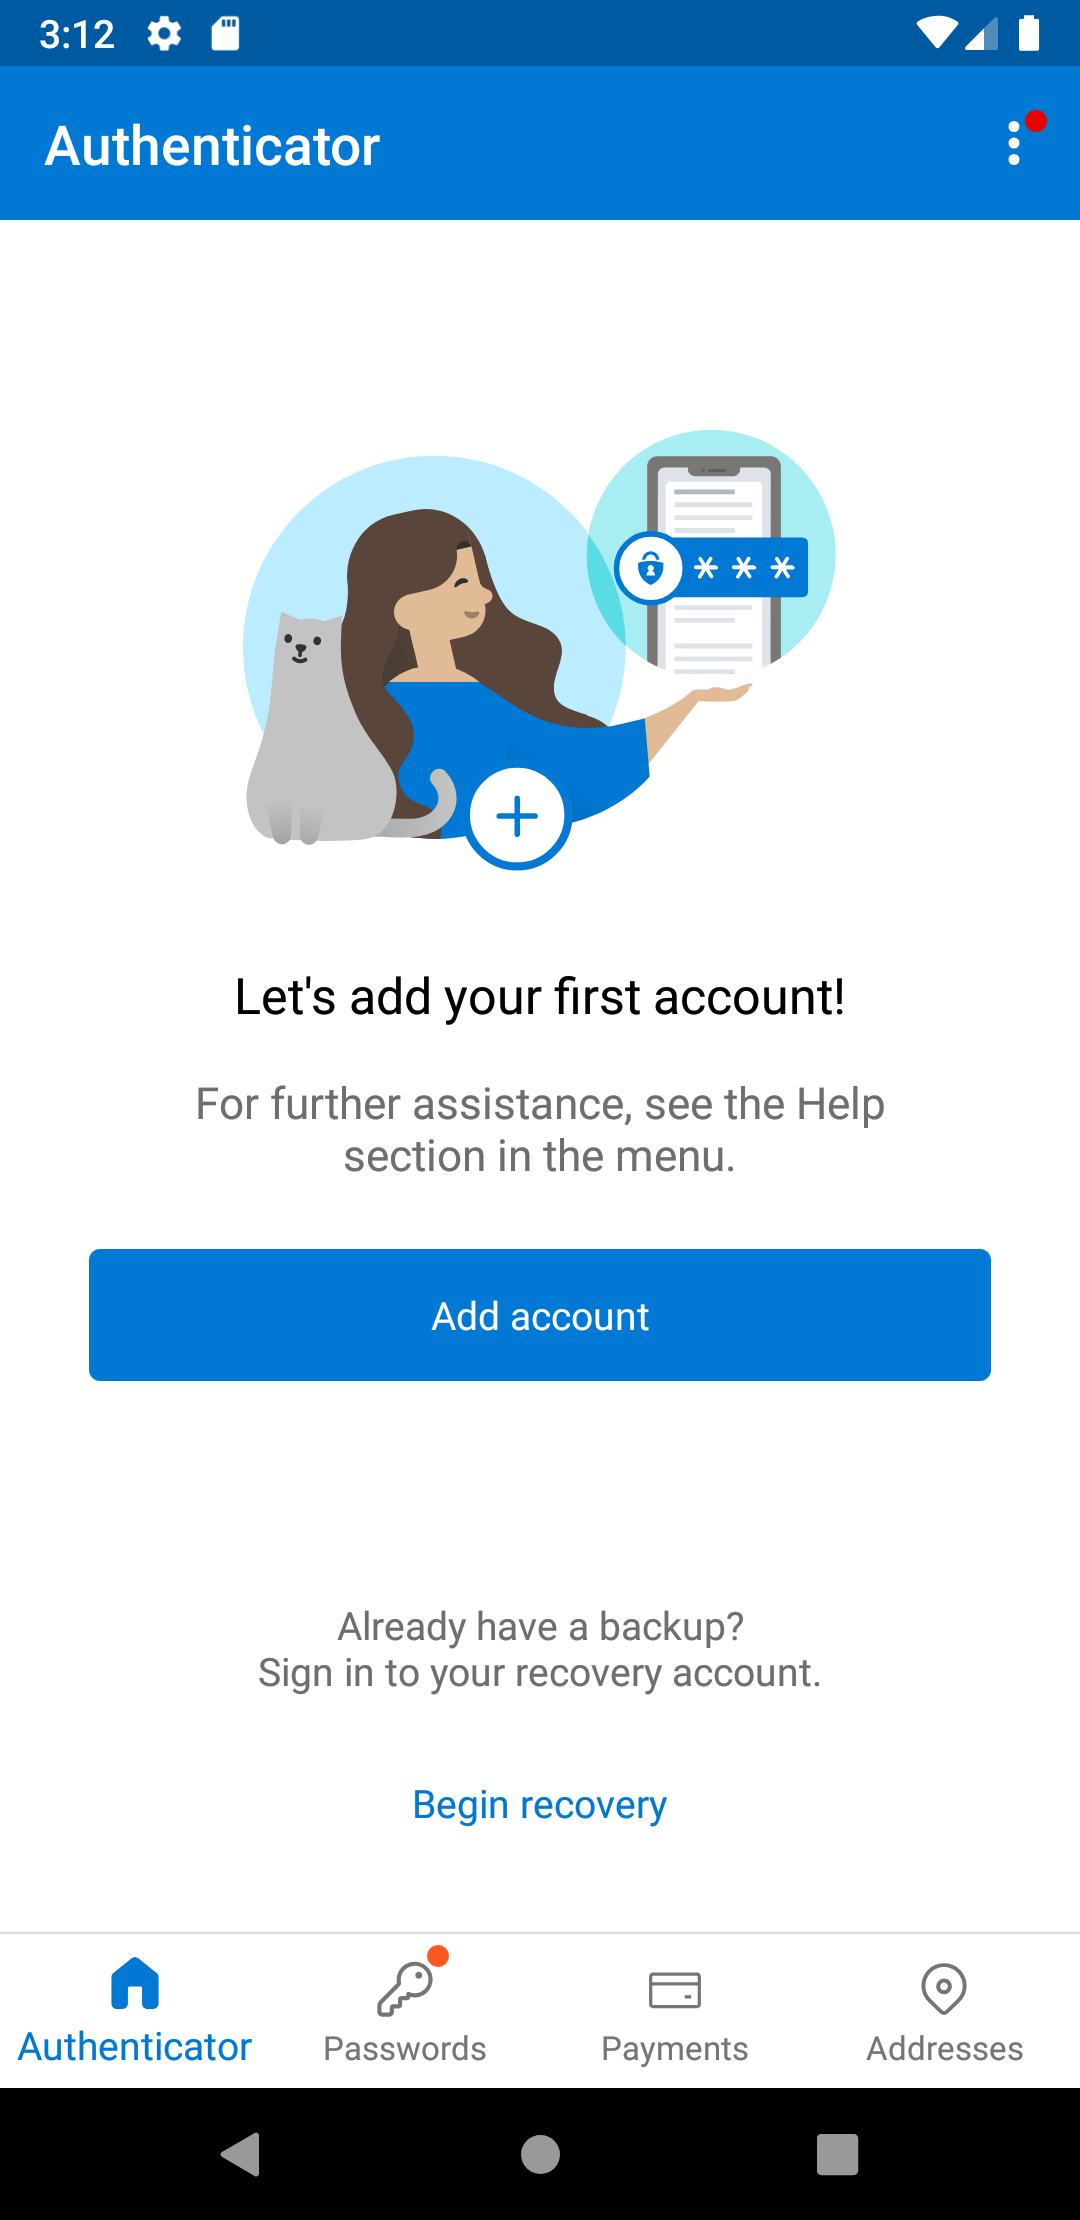
Choose “Add Account” or click the three dots and choose “+ Add Account”
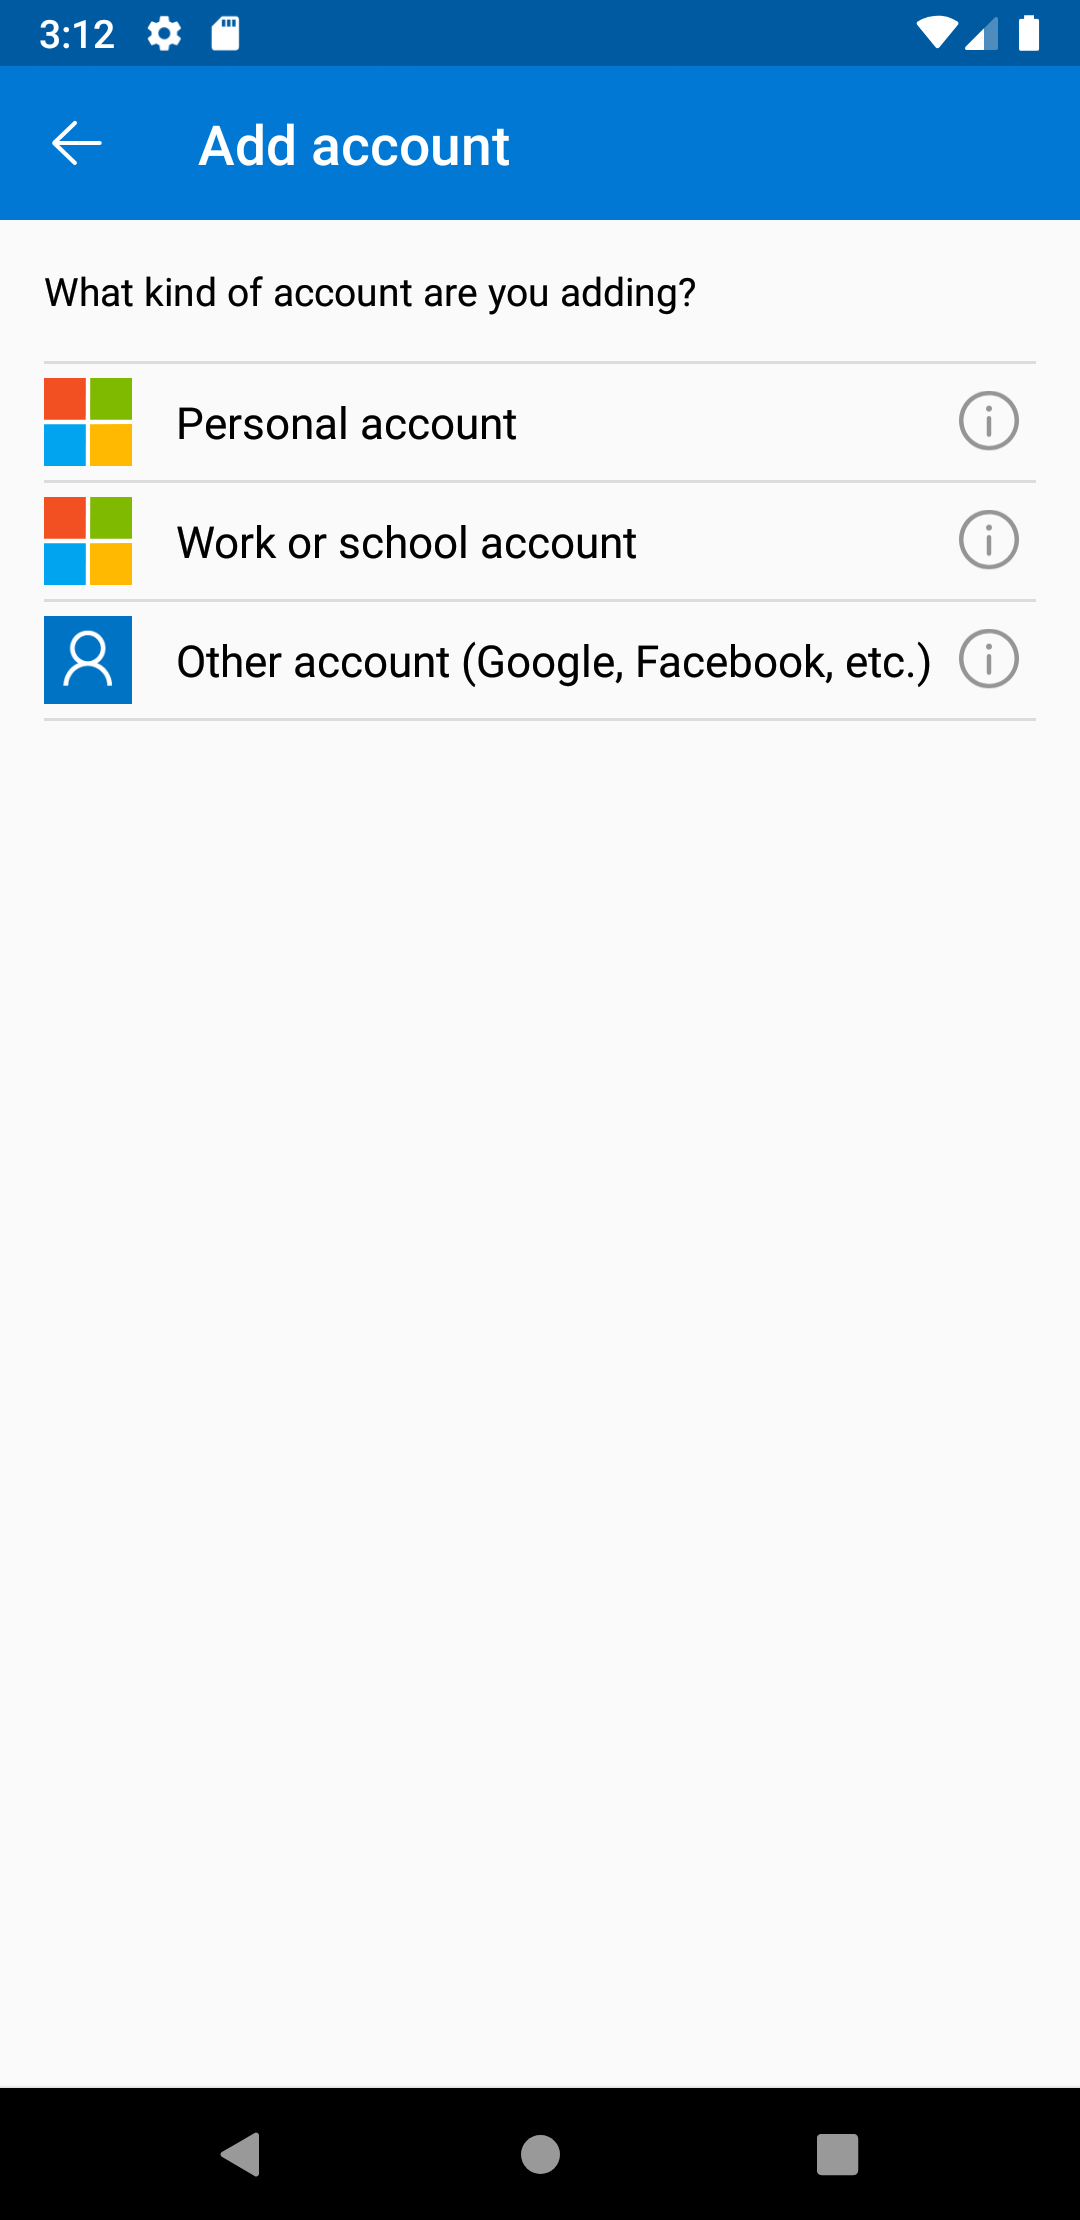
Choose “Work or school account”
Follow any prompts to give Microsoft Authenticator permission to use the device camera
Your device is now ready to scan the QR code obtained in the next steps
In an internet browser on a separate device go to the MFA Setup Link or attempt to log into your email account from off the campus network.
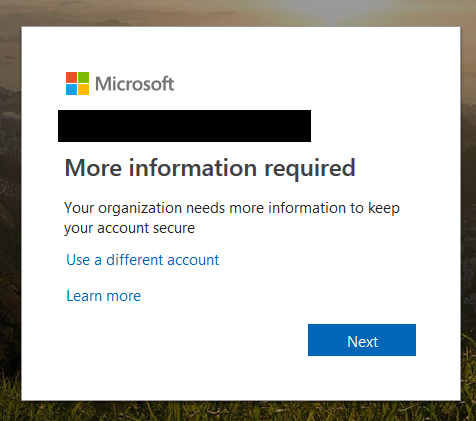
After logging in using your employee email account you will get a window saying “More information required” Select Next to continue.
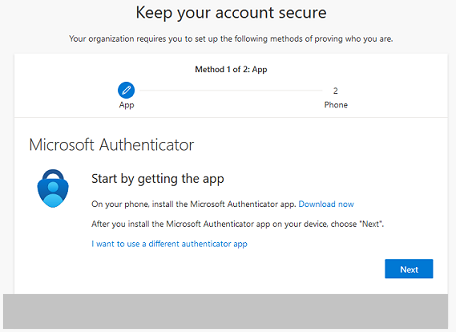
On the next page you will be given a choice of how you would like the app to interact with your login.
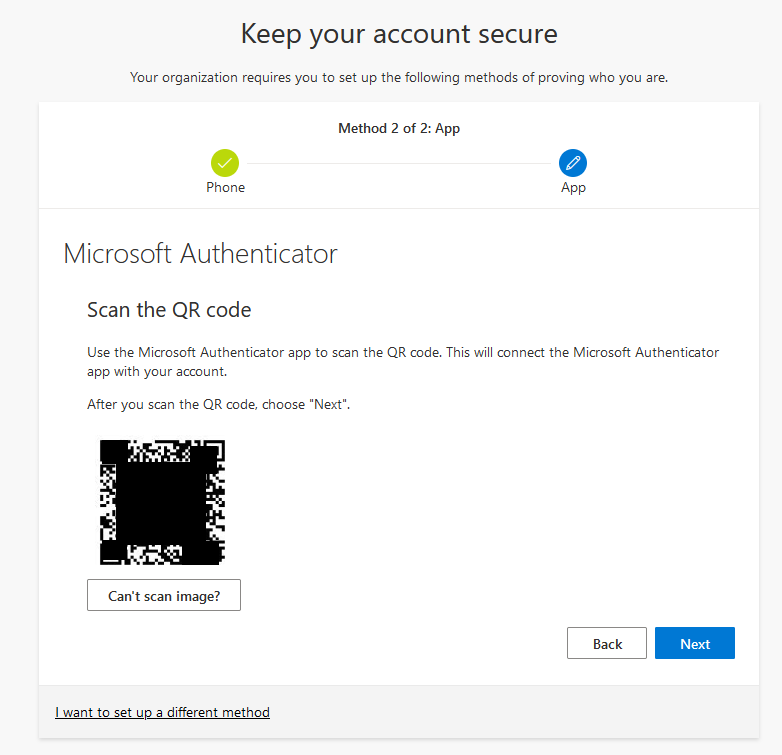
9. Click the Next button through the pop-up messages. When you reach the page for “Microsoft Authenticator” click Next one more time and be prepared to scan the QR code for your account.
A QR code will appear after hitting “Next”. Scan the QR code using the scanner in the app. If you do not see a QR code scanner on your phone repeat steps 1 – 5.
Note: The QR code will only remain active for a few minutes. If you get an error message when trying to scan the code hit “Cancel” on the QR code and select the “Next” button again.
When added successfully you should see on the app an option for “NSCC -” with your email address listed under it
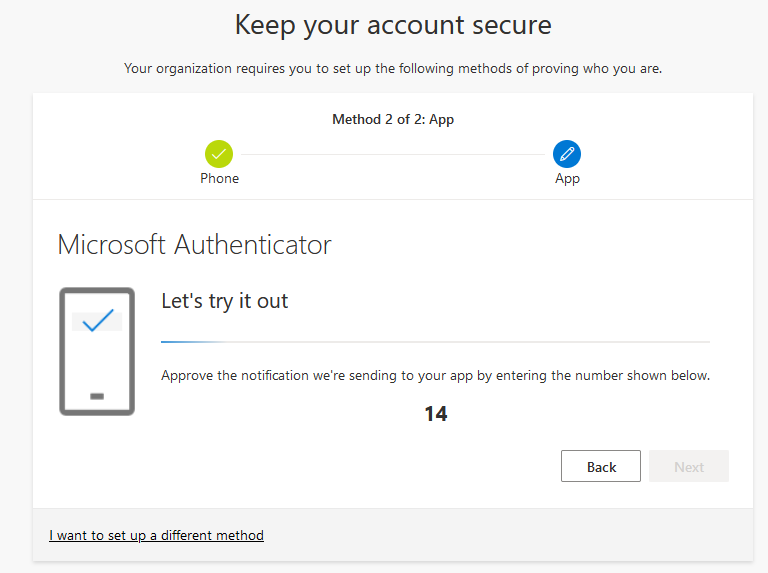
In this next step you will test the connection between your device and account. You will be shown a 2 digit number, and a notification should appear on your phone to enter the 2 digit number on the computer screen.
Once you have verified by entering the 2 digit number on your device, the greyed out Next button will turn blue on your computer screen. Click Next.
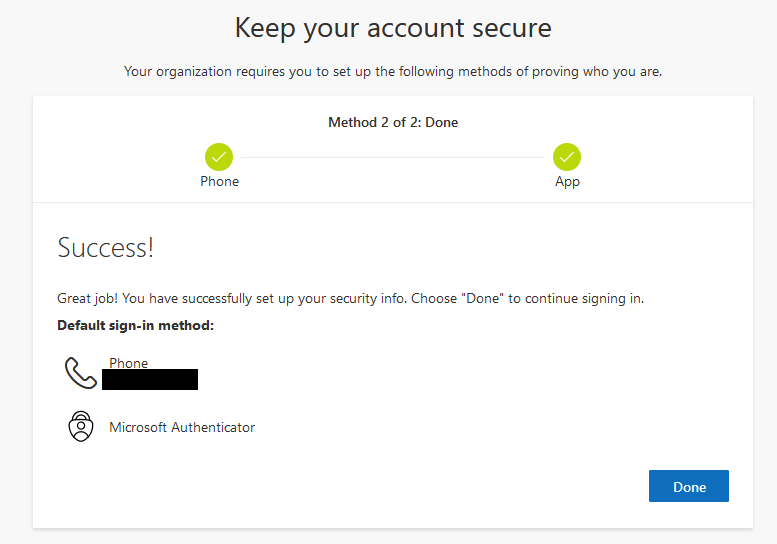
Success! you have added Mulit-Factor Authentication to your account. Be sure to finalize the process by clicking Done.
At this point you should be redirected to your email from the device you started logging in on.